


How to Paint Christmas Ornaments: A Step-by-Step Guide
The holiday season is all about spreading joy and creating beautiful memories with loved ones. One delightful way to add a personal touch to your holiday decor is by painting your own Christmas ornaments. Whether you’re a seasoned artist or a beginner, this step-by-step guide will help you create stunning, hand-painted ornaments that will adorn your tree and bring smiles to everyone’s faces.
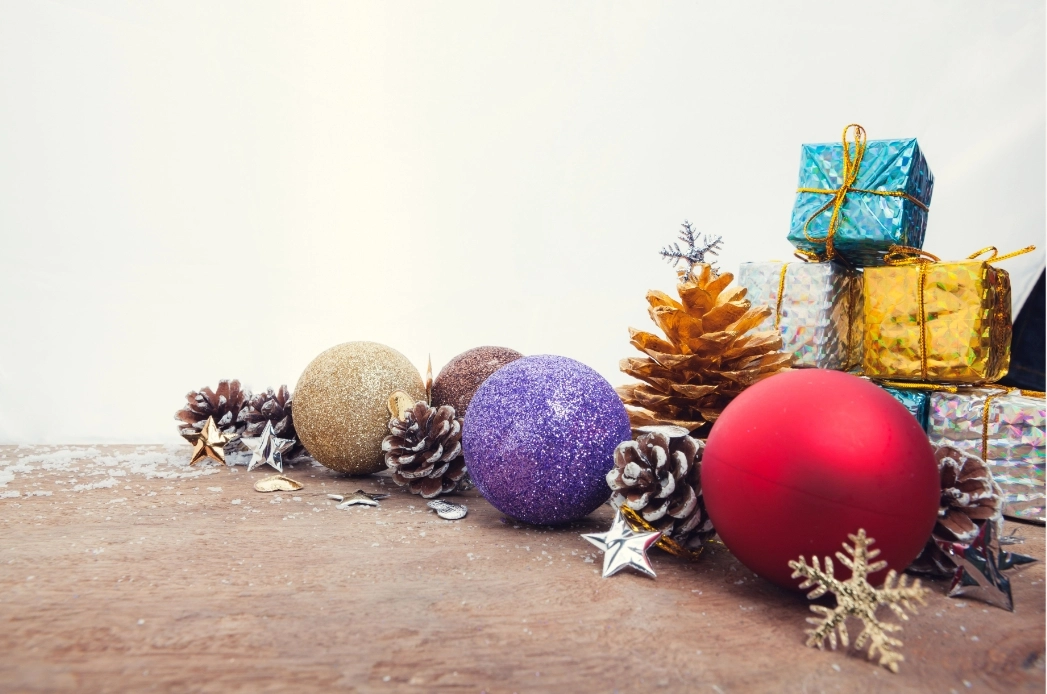
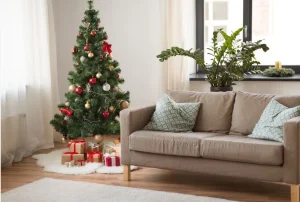
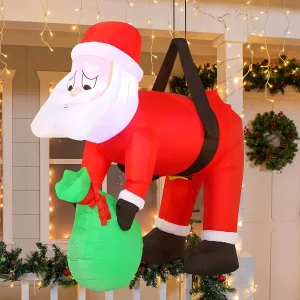
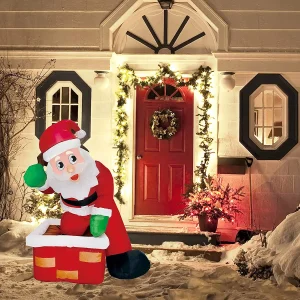
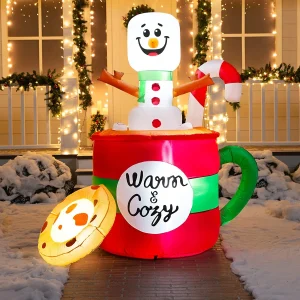
Achieving the perfect Christmas atmosphere means thinking beyond the Christmas ornaments. Your holiday decor can be taken to the next level by incorporating other elements. Outdoor spaces come to life with the addition of Christmas blow up, animated Christmas inflatables, and the funny touch of funny Christmas decorations. Indoors Christmas decorations, your mantel becomes a focal point with the magic of Christmas decorations, while your bathroom and walls can join in the festive spirit with Christmas-themed decor. For those with a creative streak, diy Christmas decorations are a fantastic option.

Materials Needed for Painting Christmas Ornaments
Before you embark on your ornament-painting adventure, it’s essential to gather the right materials. You’ll need:
- Ornaments: Select plain, unadorned ornaments. You can choose from various shapes, sizes, and materials like glass or plastic.
- Paints: Use acrylic or glass paint. These paints are easy to work with and provide vibrant colors.
- Paintbrushes: Get a variety of brush sizes to help you achieve different painting techniques.
- Protective Gear: Wear an apron or old clothing to prevent paint splatters, and cover your workspace with newspapers or a plastic sheet.
- Palette: Use a palette or a disposable plate to mix and dilute your paints.
- Water and Paper Towels: Keep a container of water and paper towels handy for cleaning brushes and correcting mistakes.
Preparing Your Workspace
Creating a well-organized and clean workspace is essential for a successful painting experience. Follow these tips:
- Cover Your Table: Use plastic or an old tablecloth to protect your workspace from paint spills.
- Ventilation: Ensure good airflow to disperse any paint fumes. If working indoors, open a window or door.
- Organize Materials: Arrange your paints, brushes, and other materials within easy reach to avoid disruptions during the painting process.
- Protect Your Clothing: Wear an apron or clothes you don’t mind getting paint on.
- Prepare Your Ornaments: Clean your ornaments to remove any dust or residue, ensuring a smooth painting surface.
Choosing Ornament Designs
The first step is to decide on the designs you’d like to paint. You can go for traditional holiday themes like snowflakes, stars, or Christmas trees, or opt for more contemporary and personalized designs. Here are some ideas to consider:
- Classic Symbols: Choose traditional symbols like holly, candy canes, and bells for a timeless look.
- Patterns and Motifs: Geometric patterns, polka dots, or stripes can add a playful and modern touch.
- Nature-Inspired: Paint snow-covered landscapes, cute animals, or winter scenes for a nature-inspired theme.
- Monogram Ornaments: Personalize your ornaments by painting initials or names of your loved ones.
- Holiday Messages: Write messages such as “Joy,” “Peace,” or “Merry Christmas” on your ornaments.
Selecting Paint Colors
Selecting the right color palette is crucial for achieving the desired look for your ornaments. Here are some tips:
- Traditional Colors: Stick to classic red, green, gold, and silver for a timeless holiday vibe.
- Complementary Colors: Choose colors that work well together, like red and white, or green and gold.
- Contrasting Colors: For a bold and striking look, pair colors like red and turquoise or purple and gold.
- Monochromatic: Create a sophisticated look by using varying shades of a single color, such as different blues or various shades of red.
Basic Painting Techniques
To create beautiful ornaments, you’ll want to master some basic painting techniques:
- Brush Strokes: Experiment with brush strokes like cross-hatching, stippling, and blending to achieve different textures and patterns.
- Layering: Build up your designs by layering paint. Allow each layer to dry before adding the next for a 3D effect.
- Blending: Blending two or more colors can create a gradient effect and smooth transitions between colors.
Creating Patterns and Textures
Adding patterns and textures to your ornaments can make them more visually appealing. Here are some techniques to consider:
- Stippling: Dab your brush lightly and repeatedly to create a textured, speckled look.
- Sponging: Dip a sponge in paint and press it onto the ornament to create a unique texture.
- Stenciling: Use stencils to create intricate designs or patterns on your ornaments.
- Glitter: Add a touch of sparkle by sprinkling glitter on wet paint.
Personalizing Christmas Ornaments
One of the most wonderful aspects of hand-painting ornaments is the ability to make them personal. Here are a few ideas for customization:
- Names and Dates: Write the names and special dates of family members to make the ornaments more meaningful.
- Family Portraits: If you’re feeling ambitious, try painting tiny family portraits on the ornaments.
- Handprints and Footprints: Capture the handprints or footprints of your little ones to create cherished keepsakes.
- Inspirational Quotes: Paint your favorite holiday quotes or sayings to inspire and uplift.

Drying and Curing Christmas Ornaments
Once you’ve painted your ornaments, it’s essential to let them dry thoroughly. Here’s what you need to know:
- Drying Time: The drying time varies based on the type of paint you use. Acrylic paint may dry in a few hours, while glass paint may take up to 24 hours or longer.
- Curing: After drying, allow your ornaments to cure for a few days. Curing ensures the paint adheres properly and resists chipping.
- Avoid Smudging: When handling your ornaments during drying and curing, be cautious not to smudge the paint.
Sealing the Paint
To protect your painted designs and make your ornaments more durable, consider sealing the paint:
- Sealant Types: There are various sealants available, including spray sealants and brush-on sealants. Choose one that suits your preferences.
- Application: Apply the sealant following the manufacturer’s instructions. Ensure that your ornaments are completely dry before sealing.
- Drying Time: Allow the sealant to dry thoroughly to prevent smudging or sticking.
Decorating the Tree With Christmas Ornaments
Now that your hand-painted ornaments are ready, it’s time to enjoy the fruits of your labor. Here are some tips for decorating Christmas tree:
- Balanced Placement: Space out your ornaments evenly to create a balanced and visually pleasing tree.
- Variety: Mix and match your hand-painted ornaments with store-bought ones to achieve a unique look.
- Accent Colors: Ensure your ornaments complement your overall tree decor and color scheme.
- Special Placement: Give extra attention to the ornaments with names, dates, or special meaning.
Painting your own Christmas ornaments is a creative and enjoyable way to make the holiday season even more special. As you hang your hand-painted ornaments on the tree, you’ll not only feel a sense of accomplishment but also create lasting memories with your loved ones. Whether you go for classic designs or venture into more personalized and imaginative territory, your hand-painted ornaments will undoubtedly be a treasured part of your holiday tradition. So, grab your paints and brushes, and let your creativity shine this holiday season!
Want Christmas inspiration? Find the most affordable decor ideas and comprehensive DIY guides here!
re, make memories, and let your porch shine with the feel of Christmas. It’s not just about making your home look fantastic; it’s about sharing the holiday spirit with the world. Merry Christmas and happy decorating!
Need Christmas inspiration? Explore budget-friendly decor ideas and DIY guides right here!
- 60 Christmas House Decorations in a Easy Way
- Pretty Blue Christmas Decorations for 2023
- 20 Christmas Window Decorations That Make Your Home Shine
- 36 Surprisingly Christmas Bathroom Decor Ideas to Try
- The Ultimate Guide to Christmas Light Decorations
- Budget-Friendly Christmas Table Decorations 2023
- 50 Simple DIY Christmas Decorations for Quick Home Transformation


")
