


How to Dye Easter Eggs: A Step-by-Step Guide
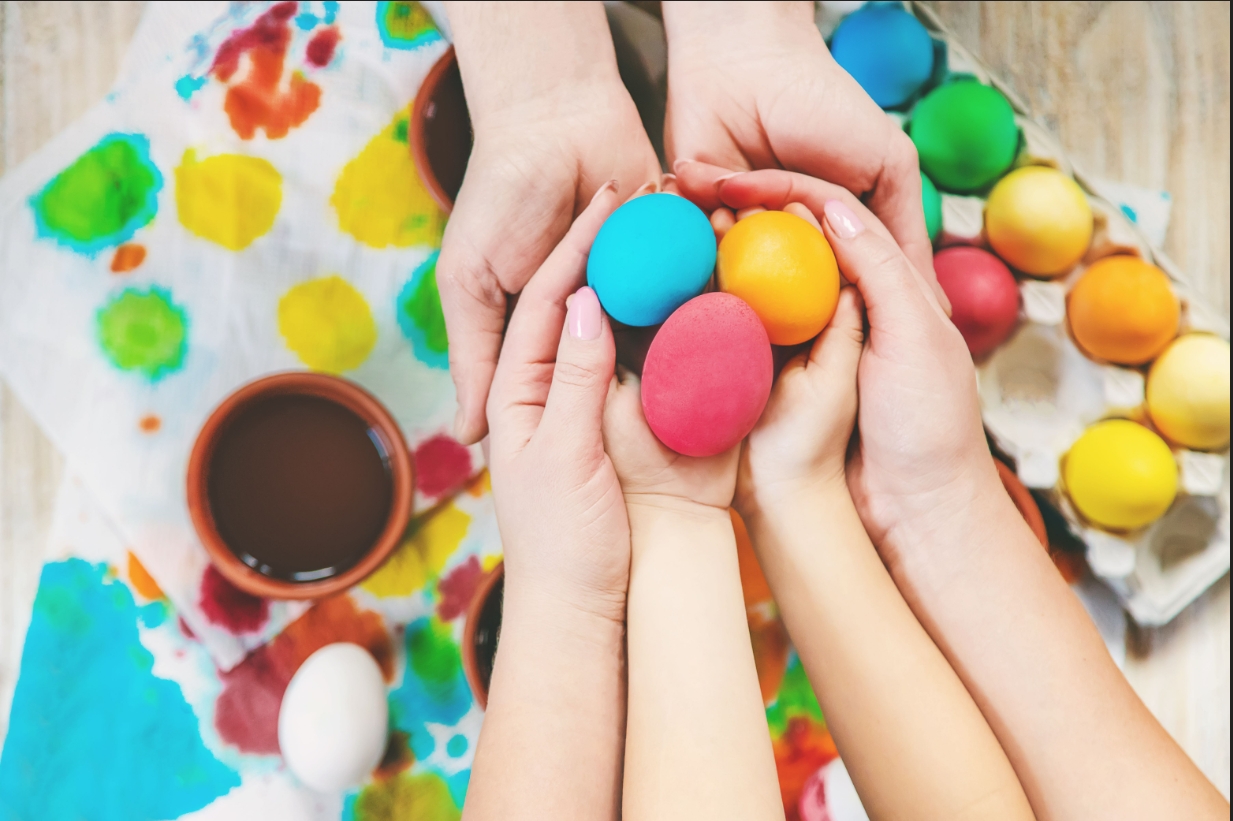
Dyeing Easter eggs is a cherished tradition for many, and with just a few simple ingredients from your local grocery store, you can create a rainbow of vibrant hues right in your own kitchen! In this guide, I’ll walk you through the steps on how to dye Easter eggs with food coloring, allowing you to unleash your creativity.
Forget about expensive Easter egg dyeing kits that quickly run out – all you need are a few sets of food dye and some vinegar to create stunning Easter eggs that will impress your family and friends. Plus, by using food coloring, you’ll have the flexibility to experiment with different color combinations and techniques, ensuring that each egg is a unique work of art.
So, gather your supplies and get ready to embark on a colorful Easter egg dyeing adventure! Whether you’re decorating eggs with your family or hosting an Easter egg decorating party, this simple and budget-friendly method is sure to delight everyone involved. Let’s dive in and discover how to dye Easter eggs with food coloring for a fun and memorable holiday celebration!
1. Gather Your Supplies Before Dying Easter Eggs
Before you start dyeing Easter eggs, it’s essential to gather all your supplies. Having everything you need on hand will make the process more organized and enjoyable. Here’s what you’ll need:
- Hard-boiled eggs: Start with a dozen or more hard-boiled eggs. Of course, you need to boil the egg first. You can either hard-boil them yourself or purchase pre-cooked eggs from the store.
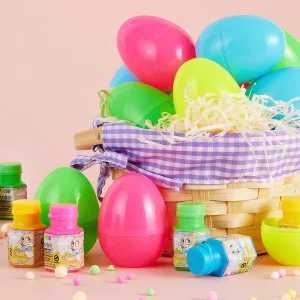
- Egg dye or food coloring: Choose a variety of colors to create a vibrant assortment of Easter eggs. You can find egg dye kits online like Joyfy, or at most grocery stores or opt for food coloring, which works just as well.
- Vinegar: Adding vinegar to the dye mixture helps the color adhere to the eggshells more effectively, resulting in brighter and more vibrant colors.
- Bowls or cups: Use bowls or cups to hold the dye mixture. You’ll need one container for each color you plan to use.
- Spoons: Use spoons to lower the eggs into the dye mixture and to stir the dye to ensure even coloring.
- Paper towels or drying racks: Place the dyed eggs on paper towels or drying racks to dry thoroughly. Avoid using cloth towels, as the dye may stain them.
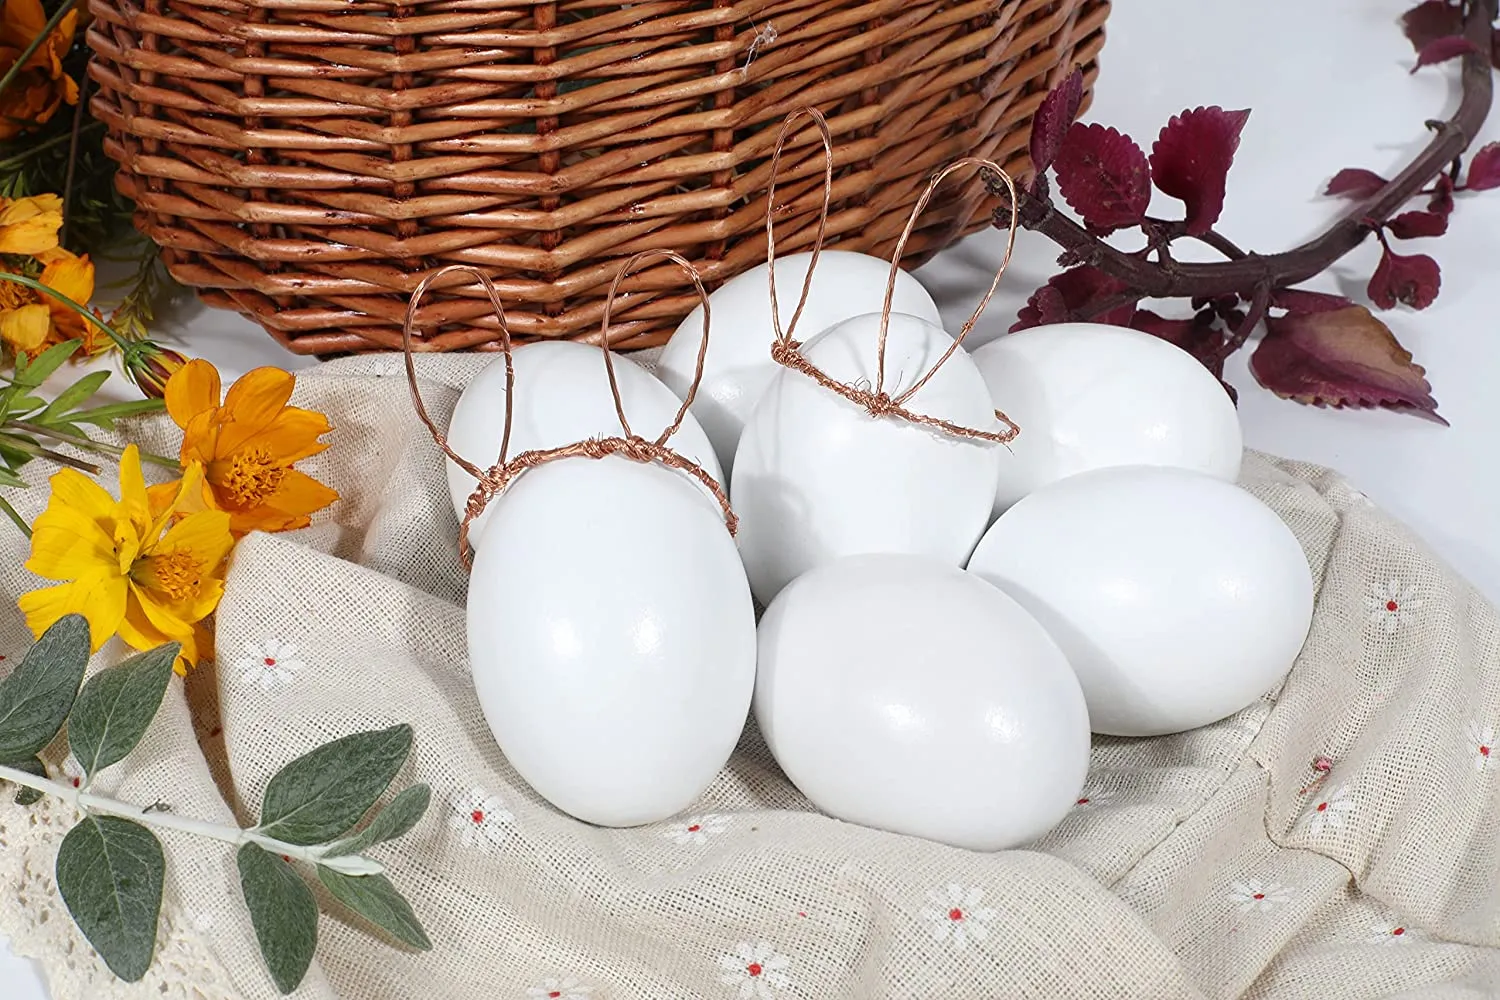
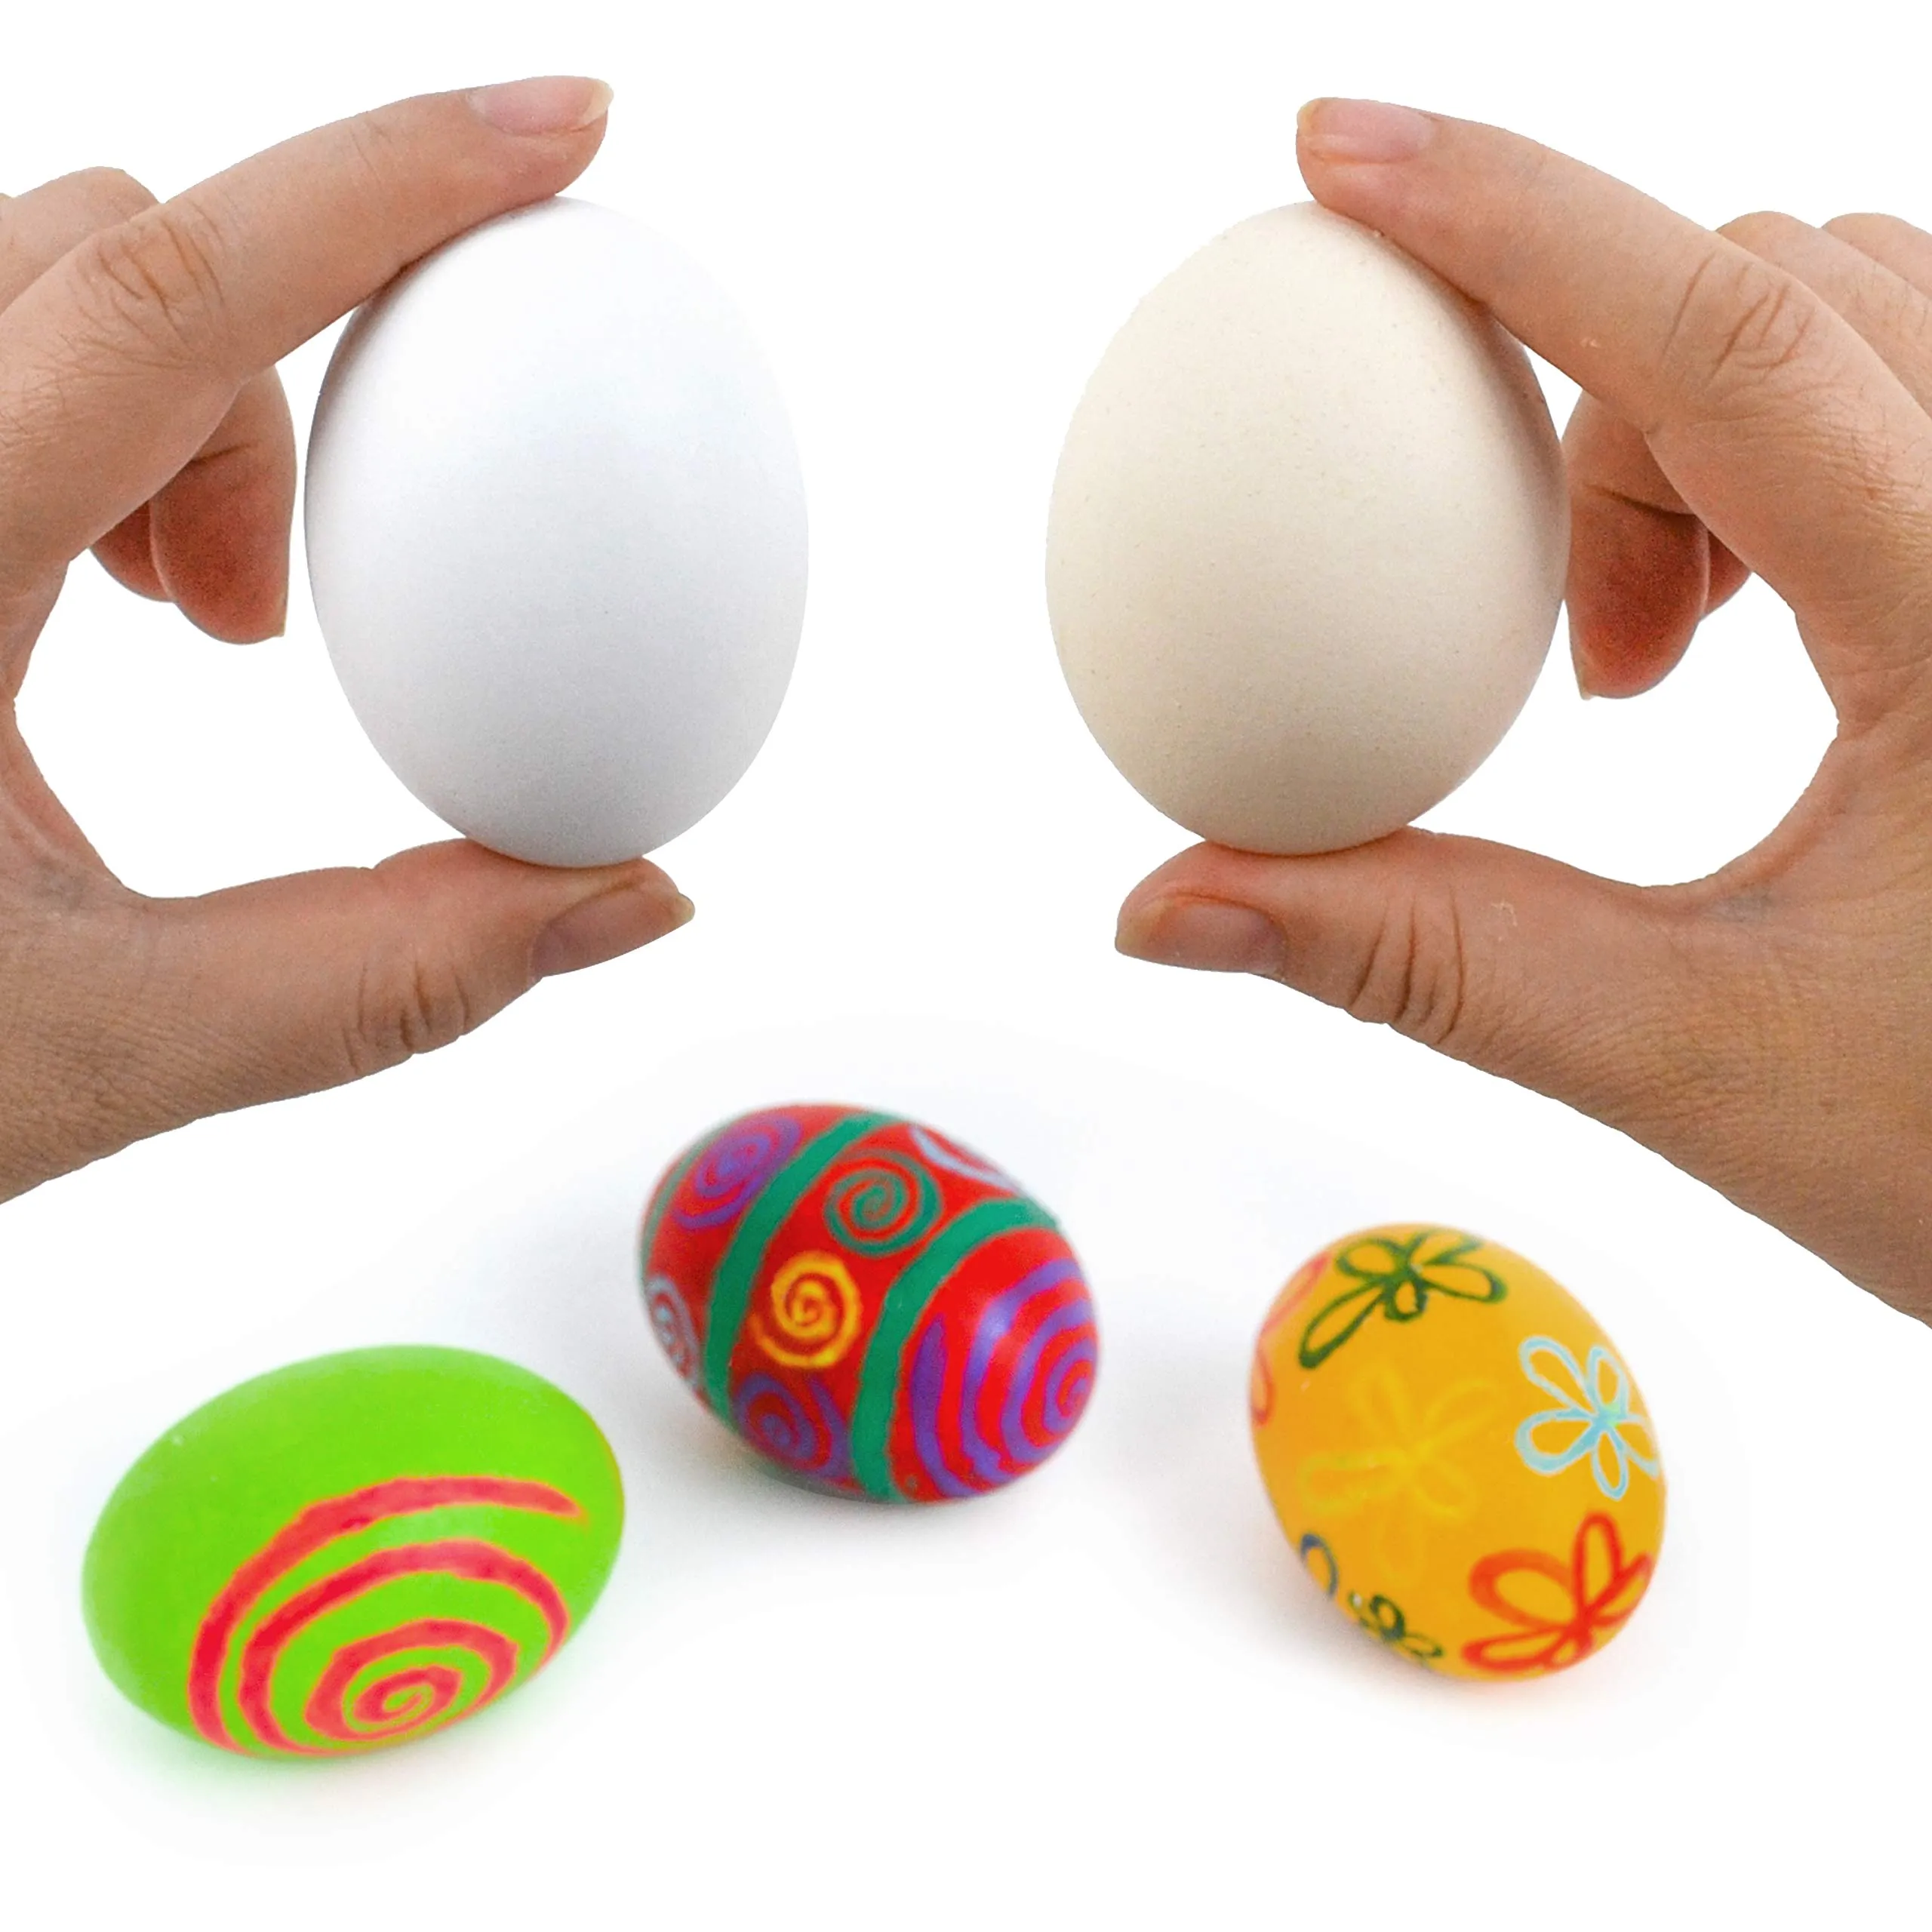
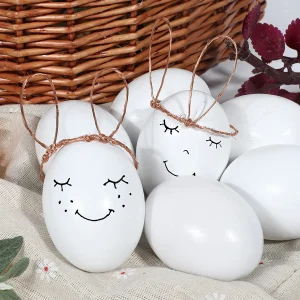
Once you’ve gathered all your supplies, you’re ready to start dyeing Easter eggs! If you don;t have fresh eggs in your home, white fake wooden Eggs may be a good choice.
2. Prepare the Dye
Now that you have your supplies assembled, it’s time to prepare the dye mixture. Here’s how to do it:
- Fill the bowls or cups: Fill each bowl or cup with water, leaving enough room to submerge the eggs completely.
- Add the dye: Add several drops of food coloring or egg dye to each bowl of water. The more drops you add, the more intense the color will be.
- Mix in vinegar: For best results, add a splash of vinegar to each bowl of dye. The vinegar helps the dye adhere to the eggshells and produces more vibrant colors.
Stir the dye mixture with a spoon until the color is evenly distributed. You’re now ready to move on to the next step!
3. Dip the Eggs
With your dye mixture prepared, it’s time to start dyeing the eggs. Here’s how to do it:
- Lower the eggs into the dye: Using a spoon, carefully lower one egg at a time into the dye mixture. You can fully submerge the eggs for solid colors or use the spoon to create unique patterns and designs.
- Rotate the eggs: To ensure even coloring, gently rotate the eggs in the dye mixture every few minutes. This helps the dye penetrate the eggshell evenly and creates a uniform color.
- Soak the eggs: Allow the eggs to soak in the dye mixture for several minutes, depending on how vibrant you want the colors to be. Keep in mind that the longer you soak them, the darker the colors will become.
Continue dipping and soaking the eggs until you’ve achieved the desired colors. Once you’re satisfied with the results, it’s time to move on to the next step!
4. Let The Egg Soak
After you’ve dipped the eggs in the dye mixture, it’s important to let them soak for a sufficient amount of time to achieve the desired color. Here are a few tips for getting the best results:
- Monitor the soaking time: Keep an eye on the eggs as they soak in the dye mixture. Depending on the intensity of the color you want to achieve, you may need to adjust the soaking time accordingly.
- Check the color: Periodically remove one of the eggs from the dye mixture and rinse it under cold water to check the color. If it’s not dark enough, return it to the dye mixture and continue soaking.
Remember that the longer you soak the eggs, the darker and more vibrant the colors will become. Be patient and experiment with different soaking times to achieve the perfect shades for your Easter eggs!
5. Remove and Dry
Once the eggs have finished soaking and you’re happy with the color, it’s time to remove them from the dye mixture and let them dry. Here’s how to do it:
- Carefully remove the eggs: Using a spoon, carefully lift each egg out of the dye mixture and transfer it to a paper towel or drying rack.
- Avoid smudging: Be careful not to touch the eggs too much as you remove them from the dye mixture. Wet dye can easily smudge, so handle the eggs gently to avoid messing up the colors.
- Allow them to dry: Place the eggs on the paper towel or drying rack and let them air dry completely. This usually takes about 15-20 minutes, depending on the humidity level in your home.
Once the eggs are dry, they’re ready to be displayed or used in your favorite Easter activities!
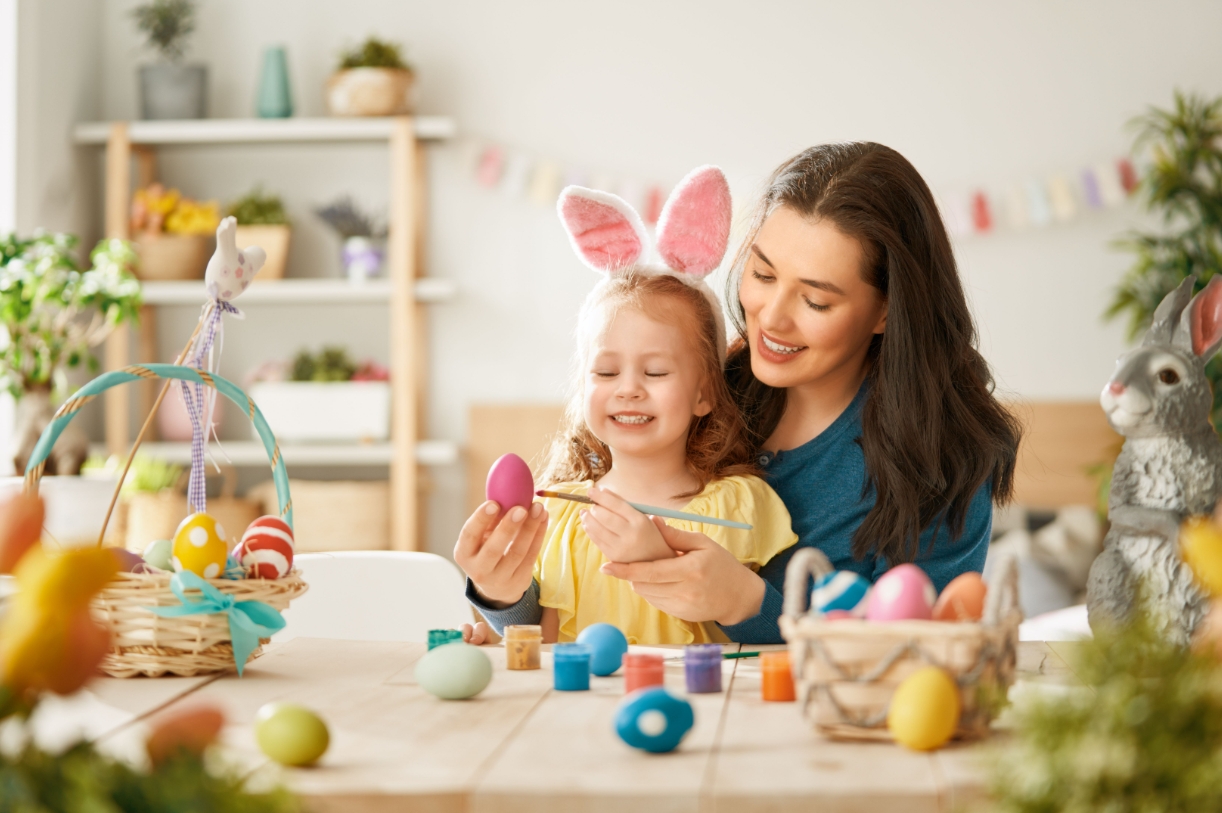
6. Decorate the Eggs
After your dyed eggs have dried, it’s time to get creative and decorate them! Here are some fun decorating ideas to try:
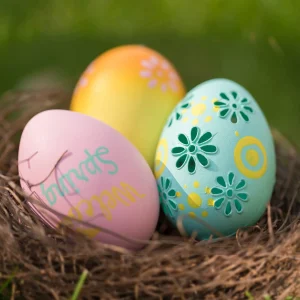
- Add designs: Use markers, stickers, or wax crayons to draw patterns or designs on the eggs.
- Apply stickers: Decorate the eggs with colorful stickers in various shapes and sizes.
- Use glitter: Add a touch of sparkle to your eggs by applying glue and sprinkling glitter over the surface.
- Wrap with ribbon: Tie colorful ribbons around the eggs to give them a festive and elegant look.
- Create characters: Use small craft supplies like googly eyes, pom-poms, and pipe cleaners to turn your eggs into adorable characters.
Get creative and have fun with your egg decorations! There are endless possibilities for making your Easter eggs unique and memorable.
7. Display and Enjoy
Once you’ve finished decorating your Easter eggs, it’s time to display them proudly and enjoy the festive atmosphere they bring to your home. Here are some fun ways to showcase your creations:
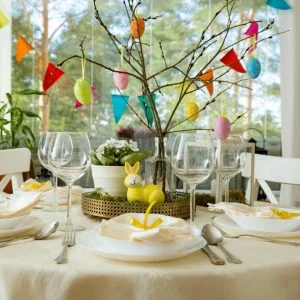
- Create a centerpiece: Arrange your decorated eggs in a decorative basket or bowl and use them as a centerpiece for your Easter table.
- Hang them up: Attach string or ribbon to the eggs and hang them from a tree branch or Easter tree for a charming display.
- Make an Easter egg garland: String together your decorated eggs to create a colorful garland that you can hang on a mantel or across a doorway.
- Set up an egg hunt: Hide your decorated eggs around the house or garden and invite friends and family to join in a fun Easter egg hunt.
However you choose to display your Easter eggs, be sure to enjoy the process and share the joy of the holiday with those you love! Easter eggs are the best choice for Easter table decorations.
How to dye easter egg is not so hard. Dyeing Easter eggs is a delightful tradition that brings joy and creativity to the holiday season. By following these simple steps, you can create beautifully dyed eggs that will brighten up your Easter decoration and create lasting memories for years to come. So gather your supplies, get creative, and have fun dyeing Easter eggs with family and friends! Remember, the most important thing is to enjoy the process and embrace the spirit of the holiday. Happy egg dyeing, and have a hoppy Easter!


")
