


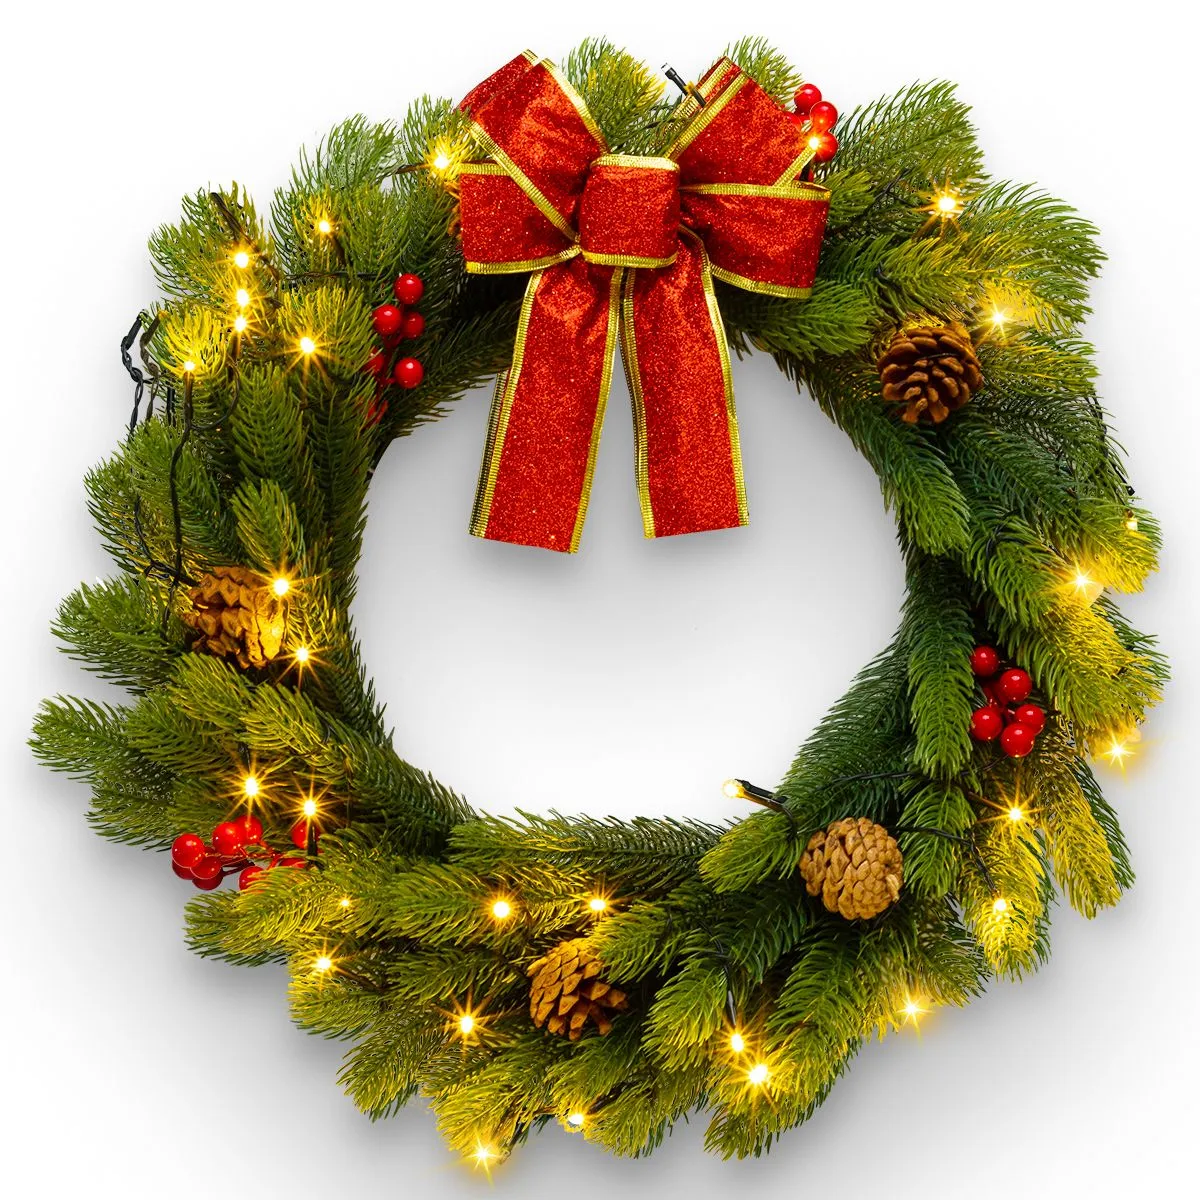
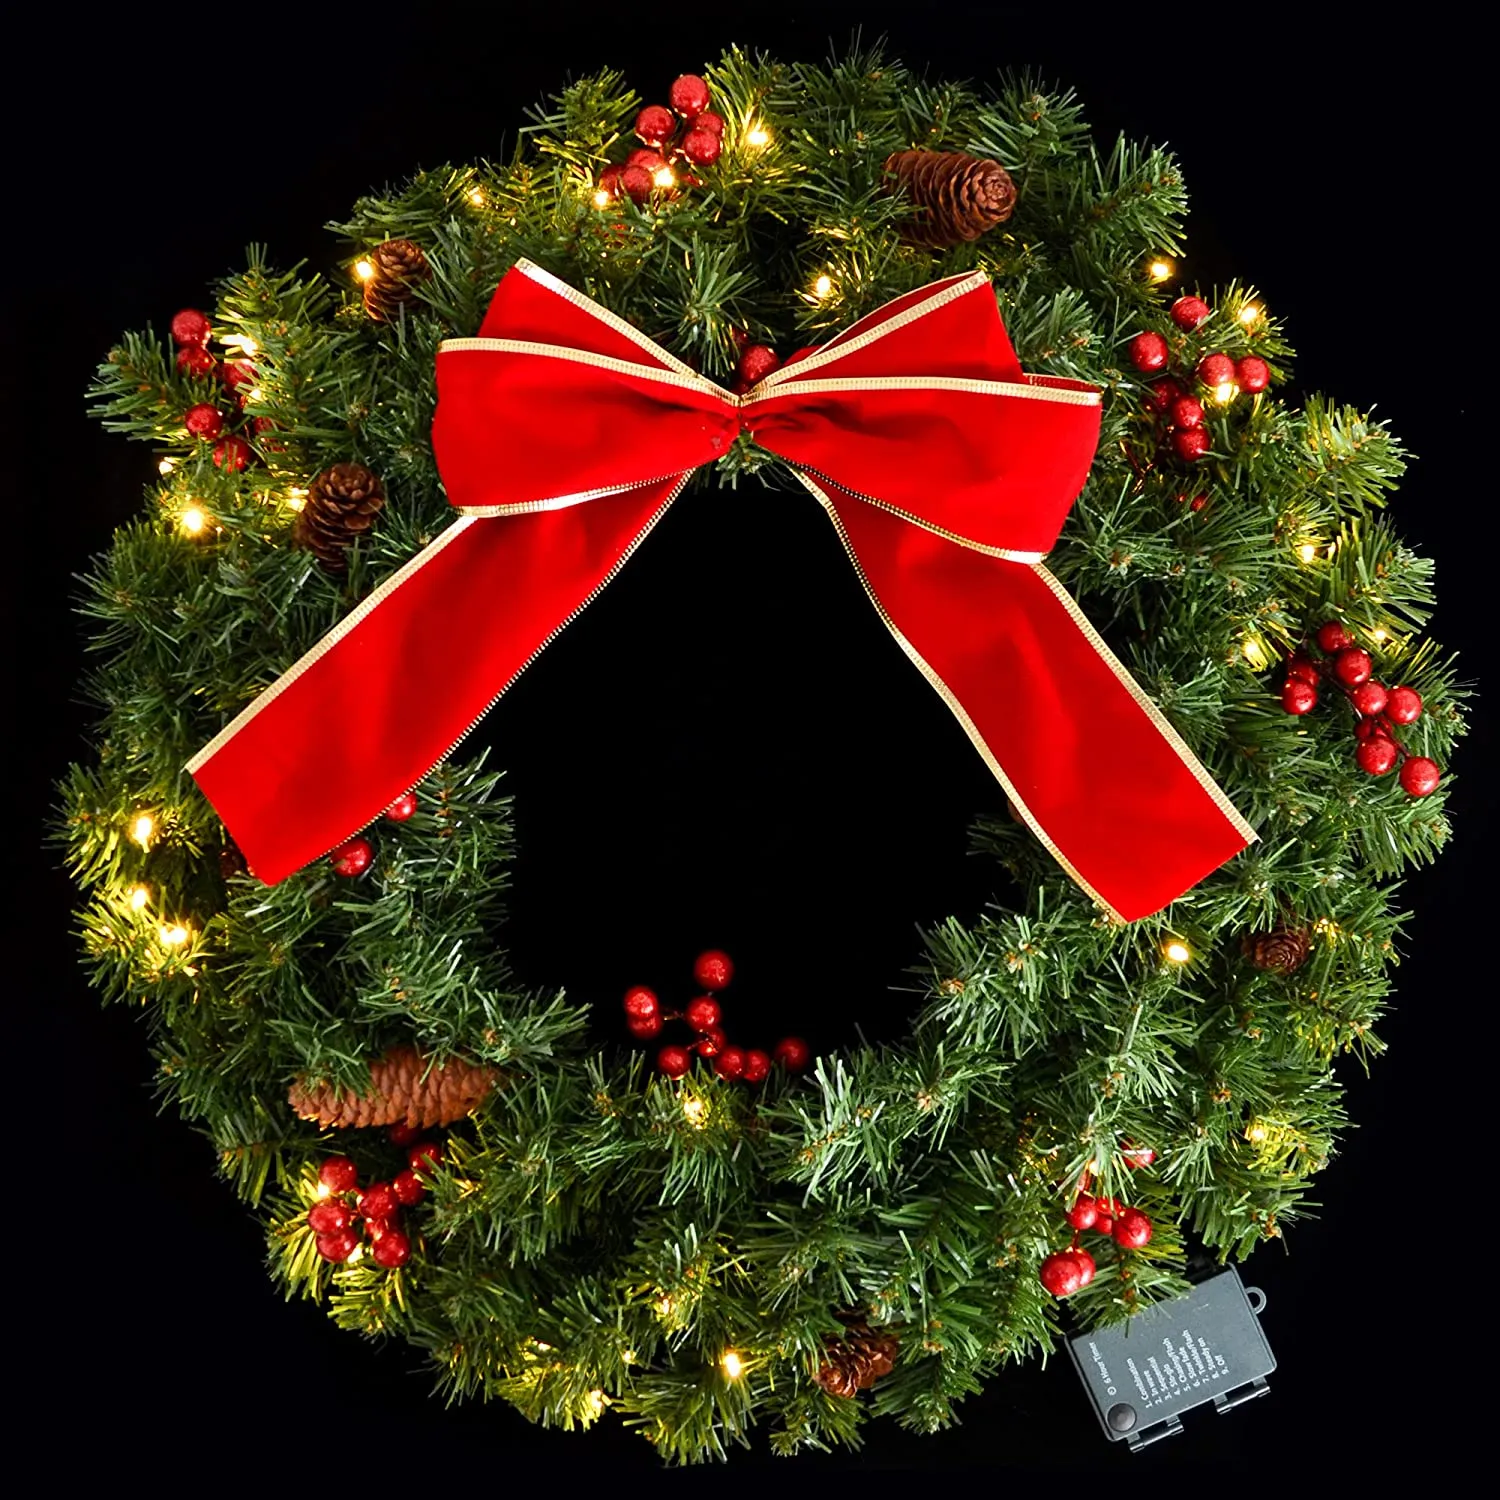
How to Make a Bow for a Christmas Wreath?
It’s that wonderful time of the year again, and you’re all set to transform your space into a festive wonderland. One of the most delightful ways to add a touch of holiday magic to your decor is by crafting beautiful Christmas bows. These bows can be used on wreaths, trees, gifts, and more. In this step-by-step guide, we’ll show you how to make a Christmas bow for a Christmas wreath that will impress your friends and family.
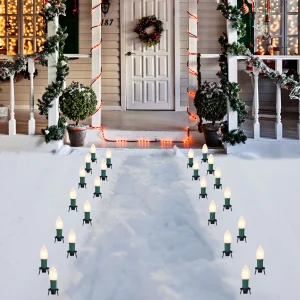
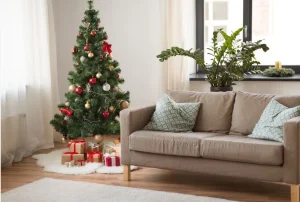
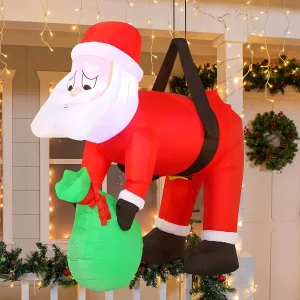
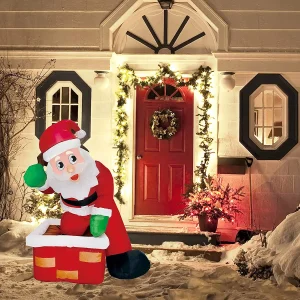
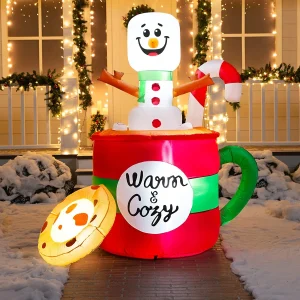
If you’re aiming for a picture-perfect Christmas ambiance, you’ll need more than just a Christmas bow. Think about enhancing your decorations with additional elements that can truly elevate your Christmas decor. When it comes to Christmas outdoor decor, you can’t go wrong with the festive cheer of inflatable Christmas decor, animated Christmas inflatables, and the jolly presence of funny Christmas decorations. For your indoor spaces, your mantel is the perfect canvas for showcasing charming indoor Christmas decorations, while adding a sprinkle of holiday spirit to your bathroom and walls with Christmas-themed decor can make your home feel even more festive. And if you’re in the mood for a dash of creativity, there’s always the option of crafting your own diy Christmas decorations.
Materials You’ll Need to Make a Bow
Before we dive into crafting, let’s gather all the materials. These are the essentials for making your own Christmas bows:
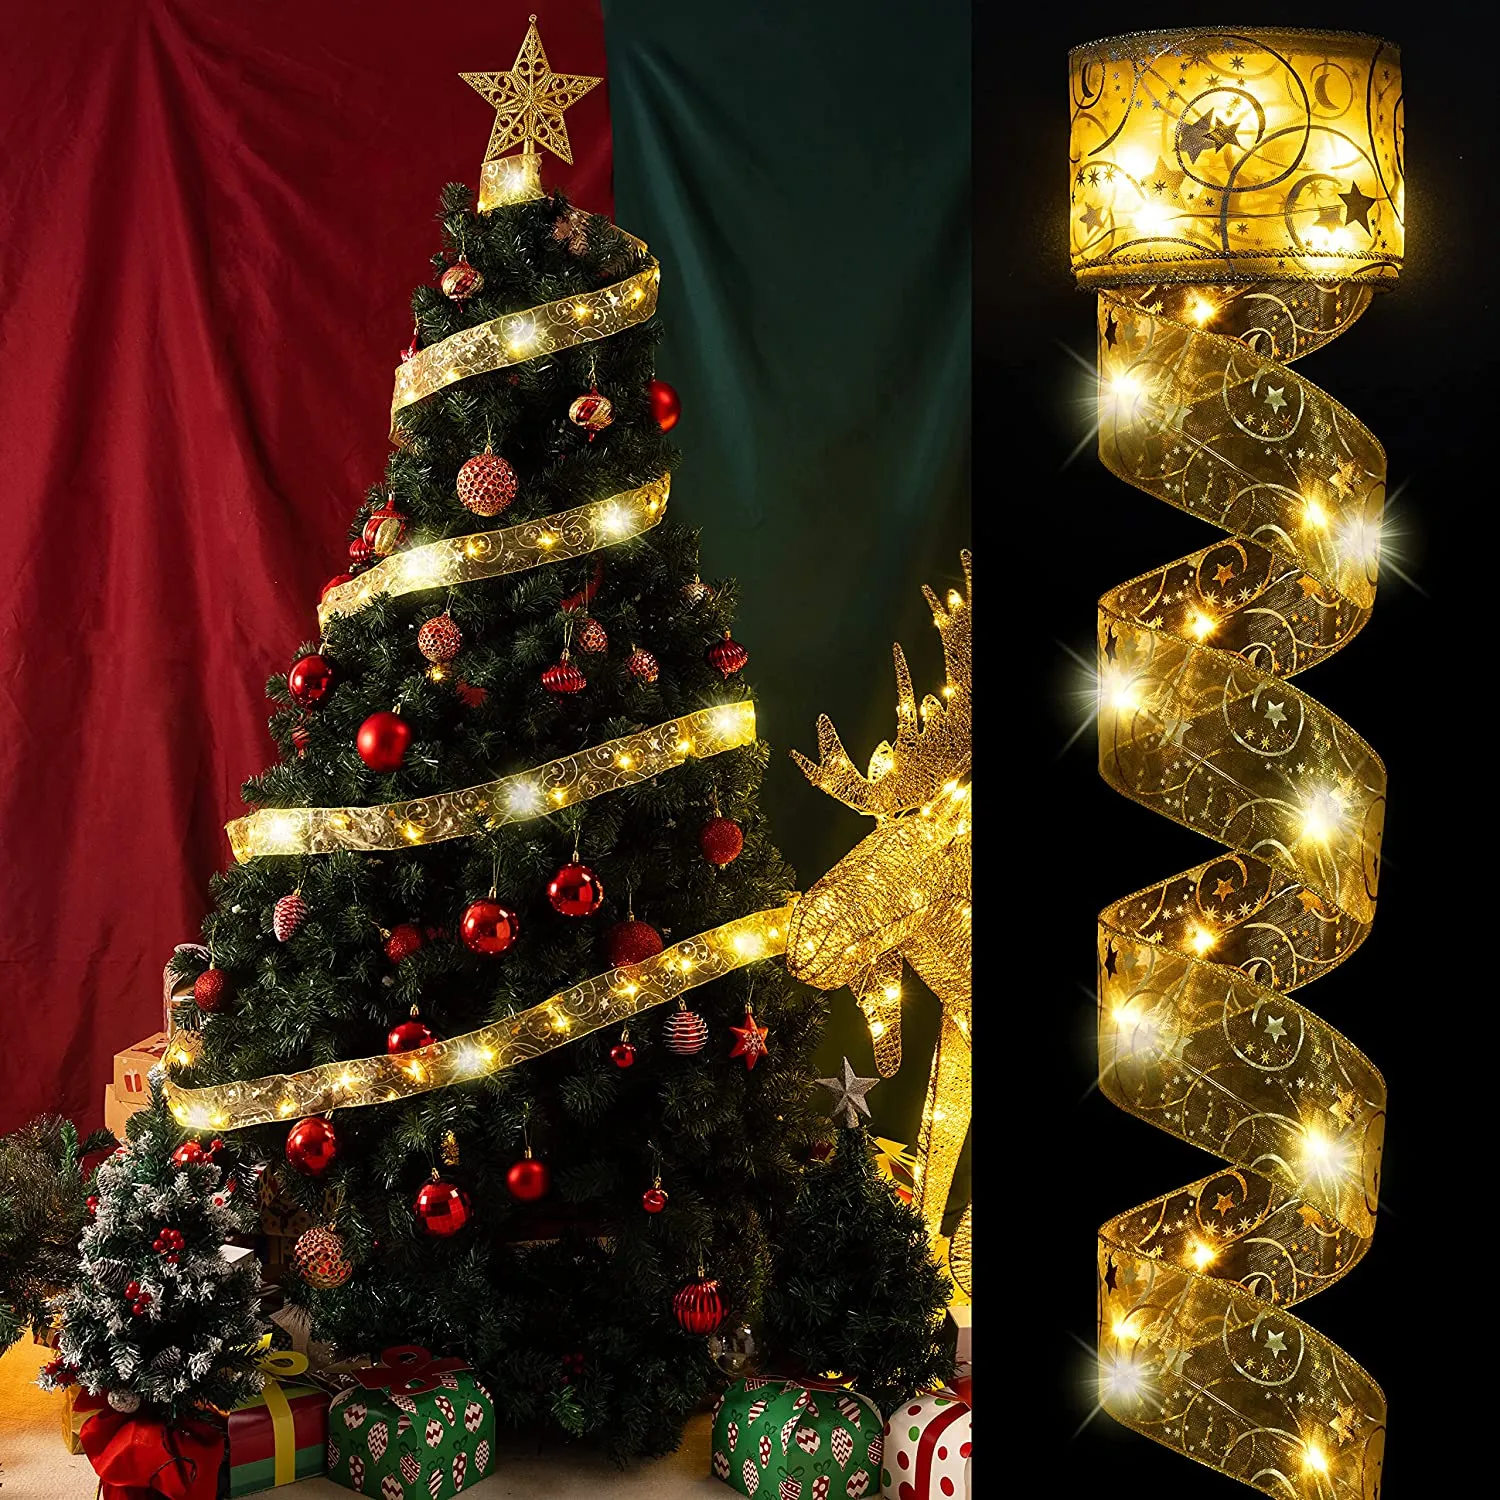
- Ribbon: Choose a ribbon in your preferred color and pattern. Wired ribbon works best for creating full and shapely bows.
- Scissors: You’ll need sharp scissors to cut the ribbon cleanly and precisely.
- Florist Wire: This will help secure the layers of your bow and attach it to your desired item.
- Christmas Wreath, Tree, or Gift: Decide where you’d like to use your Christmas bow and have it ready.
Now, let’s get into the fun part of creating your festive bows!
Step 1: Choosing the Perfect Ribbon
The first step to crafting a stunning Christmas bow is selecting the right ribbon. Here are some tips:
- Color and Pattern: Decide on your color scheme and overall theme. Choose a ribbon that complements your holiday decor. Traditional reds and greens are always a safe bet, but don’t be afraid to experiment with different colors to match your unique style.
- Width and Texture: Consider the width of the ribbon and its texture. A wider ribbon creates a larger, more dramatic bow, while a thinner ribbon offers a daintier look. For a luxurious appearance, choose a textured or patterned ribbon.
Step 2: Measuring and Cutting the Ribbon
Now, it’s time to measure and cut the ribbon to your desired length:
- Roll out a length of ribbon, and decide how long you want the tails (the hanging ends of the bow) to be. Typically, these tails are around 8-10 inches long.
- Use your sharp scissors to cut the ribbon, ensuring a straight and clean edge. You can also cut the tails at a diagonal angle to add a decorative touch.
Step 3: Making the First Loop
Let’s start forming your bow with the first loop:
- Hold one end of the ribbon between your thumb and forefinger, leaving enough length for the tail. This will be the center of your bow.
- Create a small loop by folding the ribbon over your thumb and holding it in place with your thumb.
Step 4: Creating Additional Loops
Once you’ve made the first loop, continue to create more loops:
- Hold the midpoint of the ribbon against the first loop, making sure the new loop matches the size of the first one.
- Secure the midpoint with your thumb, creating two matching loops. At this point, you have two loops, one on each side of the midpoint.
Step 5: Building Layers
To add depth and fullness to your bow, create additional layers:
- Form more loops by folding the ribbon back and forth, securing each layer with your thumb. As you go, you’ll create layers of loops.
- Keep making loops until you’re satisfied with the fullness of your bow. The more loops you add, the more voluminous your bow will be.
Step 6: Tying the Bow
Once you’ve created all the desired loops, it’s time to tie your bow’s layers together:
- Use florist wire to secure the center of your bow. Be sure to tie it tightly but not too tight, as you’ll need to fluff the bow.
Step 7: Fluffing Your Bow
To make your Christmas bow look lush and attractive, fluff the loops:
- Carefully separate and adjust the loops by gently pulling them upwards and outwards. Start with the inner loops and work your way outward.
- Spend some time fluffing and shaping the loops until your bow has the perfect shape and fullness.
Step 8: Attaching the Bow
Once your bow is fluffed and looking amazing, it’s time to attach it to your chosen item:
- Use a piece of florist wire to secure the back of the bow to your wreath, tree, or gift. Make sure it’s fastened securely and perfectly positioned.
Step 9: Final Touches
To complete your bow and add some extra flair to your wreath, tree, or gift, consider incorporating additional embellishments. You can attach ornaments, pinecones, or other festive elements to your project for that extra holiday touch.
Step 10: Show Off Your Creation
With your bow beautifully attached, proudly display your festive creation. Whether it’s on your front door wreath, Christmas trees, or a wrapped gift, your handcrafted bow will be the star of your Christmas decor.
Creating your Christmas bows is a rewarding and creative process, and it’s a fantastic way to add a personal touch to your holiday decorations. Now that you’ve mastered the art of crafting a stunning bow, you’ll be ready to impress your friends and family with your festive creations. So, gather your materials, let your creativity flow, and enjoy the process of making perfect Christmas bows!
Seeking Christmas inspiration? Find affordable decor ideas and DIY guides in one place!
- 60 Christmas House Decorations in a Easy Way
- 20 Christmas Window Decorations That Make Your Home Shine
- 36 Surprisingly Christmas Bathroom Decor Ideas to Try
- The Ultimate Guide to Christmas Light Decorations
- Budget-Friendly Christmas Table Decorations 2023
- 50 Simple DIY Christmas Decorations for Quick Home Transformation


")
